Ceiling and Walls
The function of the tools I use and how they work are explained here. Specific tools used are noted in bold.
The ceiling and walls are paneled with 1/4” plywood that is covered with ash veneer. For the ceiling, wooden furring strips are first screwed to the metal frame. The plywood is then screwed to the strips. The wall panels are screwed directly to the metal frame. The screws are counter sunk and covered with matching “bung hole plugs.” This is similar construction to how planks are attached to a wooden boat.
After the panels are cut to size, they are veneered. Veneer is thinly sliced wood. On the van we’re using veneer that is 1/18” thick, which is about double the thickness of typical veneers. A thicker veneer is used primarily for durability purposes. Watch this video to see the process of how veneer is made. All the veneer for the van is from the same log and is quarter sliced. The first step is a lot of math to determine how to optimally use the veneer and ensure consecutive slices and matching grain. Bundles of veneer slices are taped together so they can be processed as a unit. After cutting to length one side is straightened on the edge sander. The bundle is then cut to width on the sliding table saw. The slices are laid out in consecutive order and taped together. Glue is rolled onto the plywood, and the veneer is placed on top. After ensuring everything is aligned properly the panel is placed in the vacuum press, which is basically a big plastic bag. When the air is pumped out the atmospheric pressure presses the veneer onto the plywood while the glue dries. For the forward ceiling panel 86,000 pounds of pressure were applied.
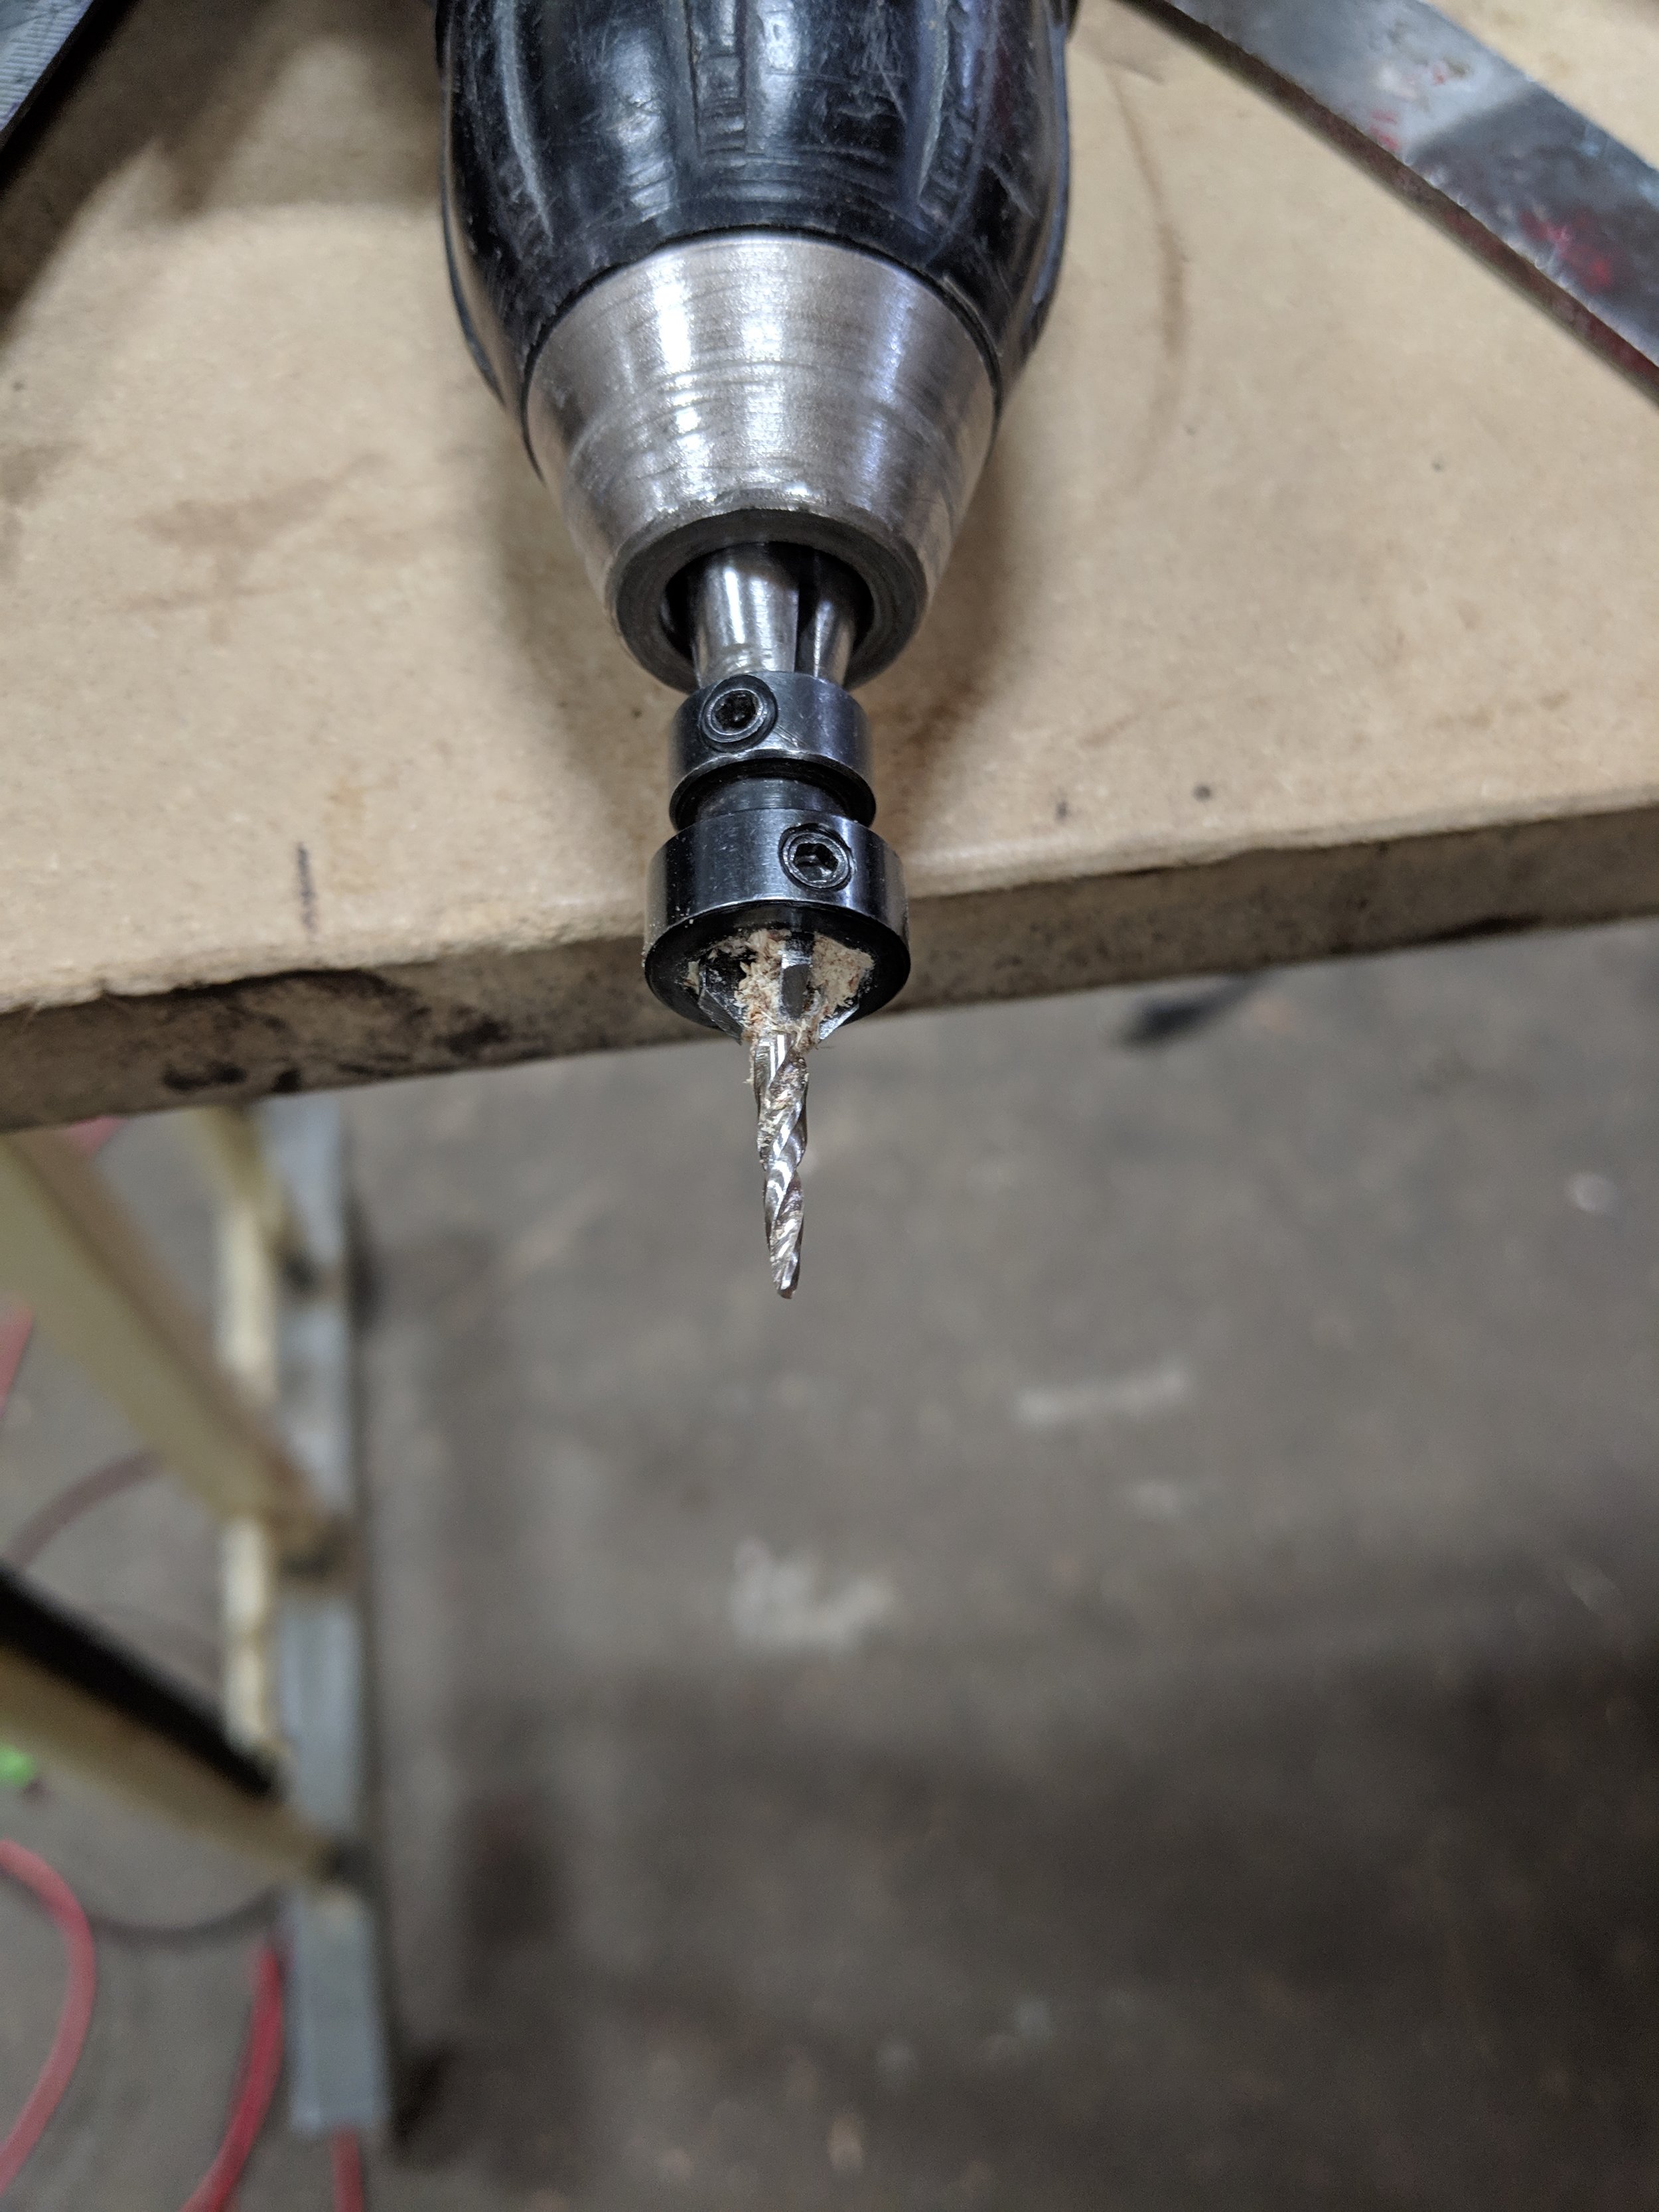
The veneer is applied slightly oversized. After the glue has dried the oversize is trimmed with a router using a bit with a bearing that is flush to the cutter head. The panels are then sanded. Before installing the screw holes are drilled and the holes for the lights are cut. The holes are countersunk and will be filled with wooden plugs that will be sanded flush to the surface.
The ceiling and walls are insulated prior to fastening the panels. The celing panels are screwed to the furring strips. The wall panels are screwed directly to the metal pillars. Wooden bung hole plugs are glued into the counter sunk screw holes, and the plugs are sanded flush with the surface of the panels.
On the sliding side doors, the lower panels have exposed removal screws which allow for servicing the door mechnicals if needed.


