Top
The function of the tools I use and how they work are explained here. Specific tools used are noted in bold.
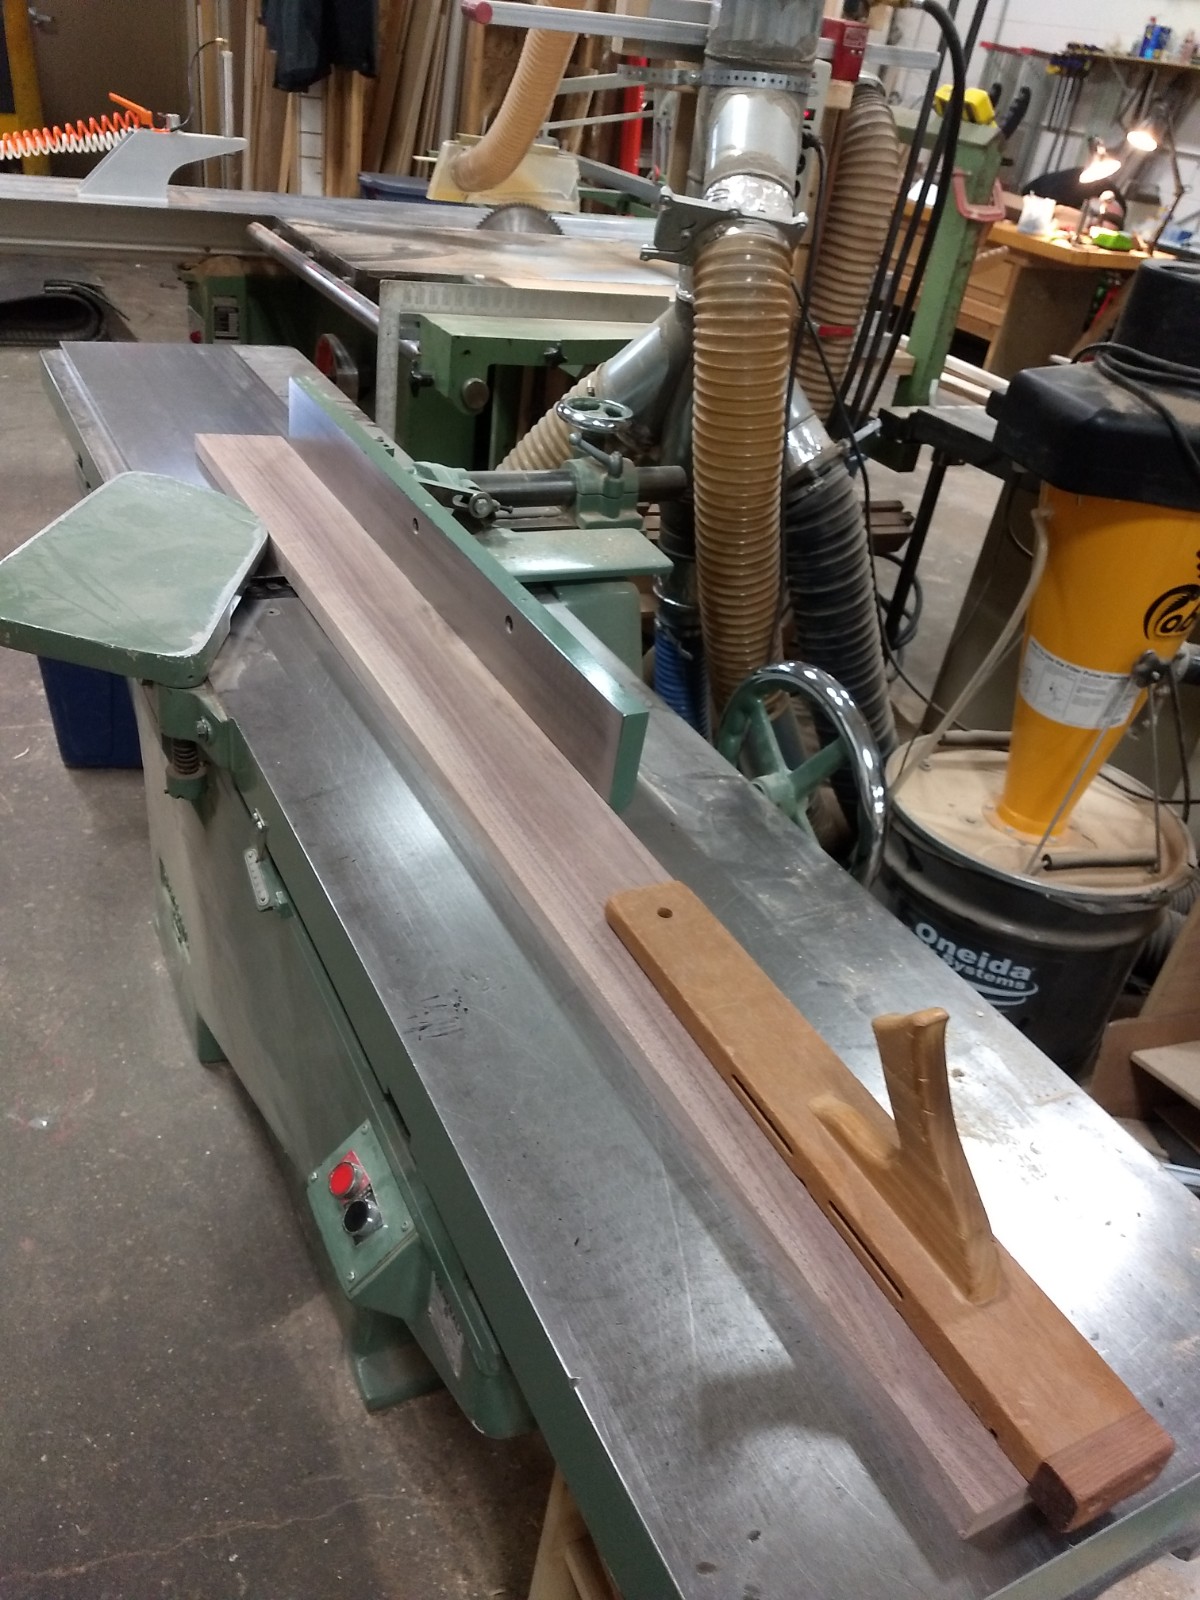
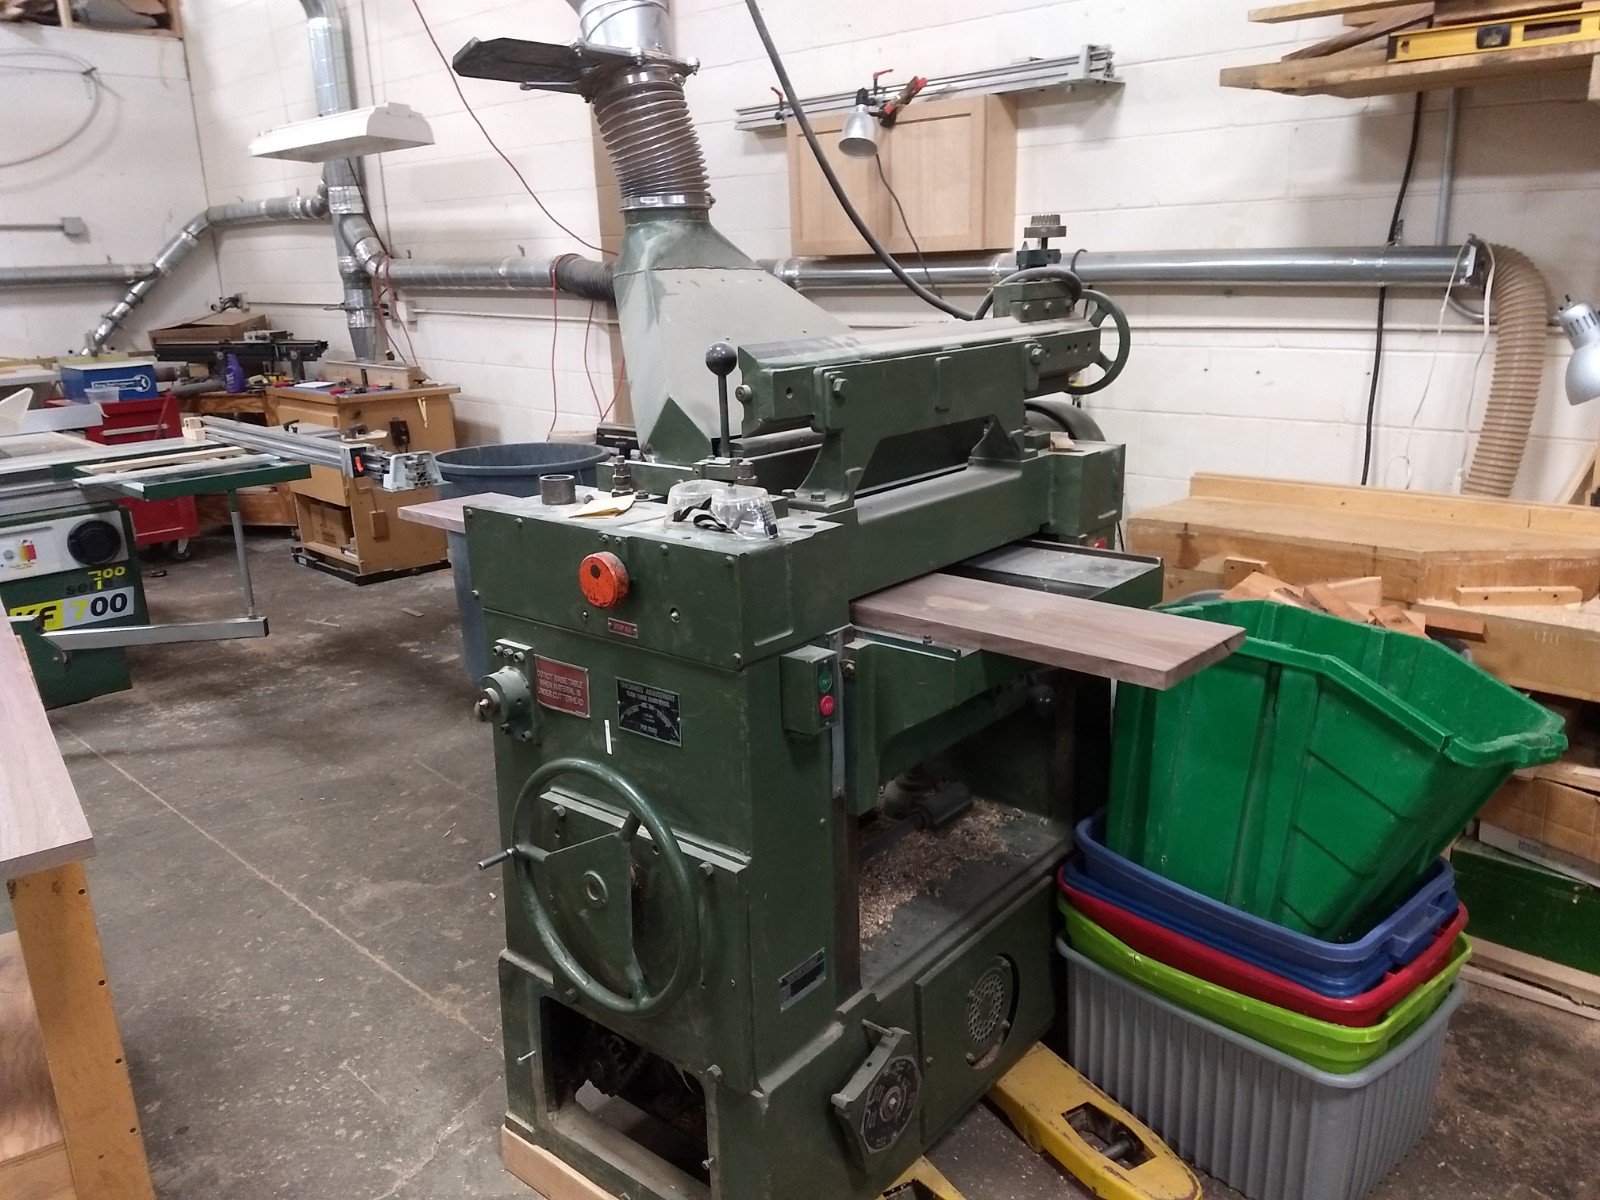
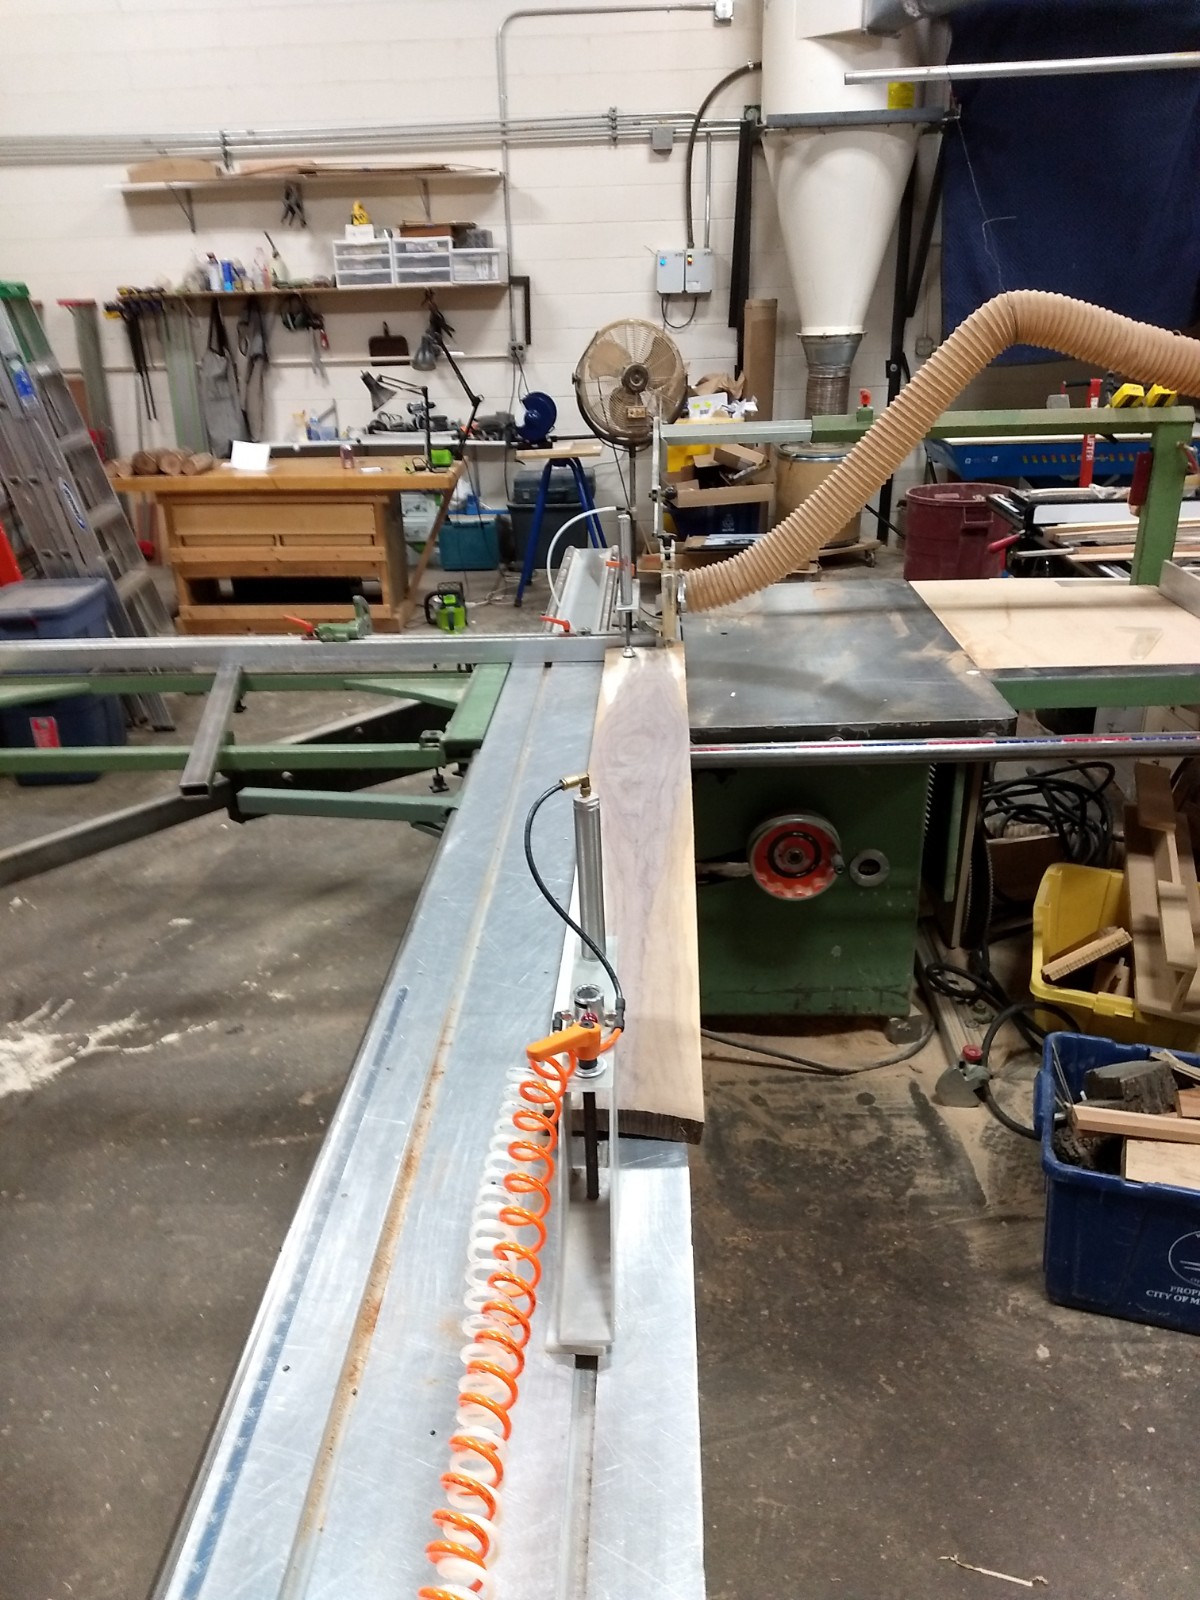
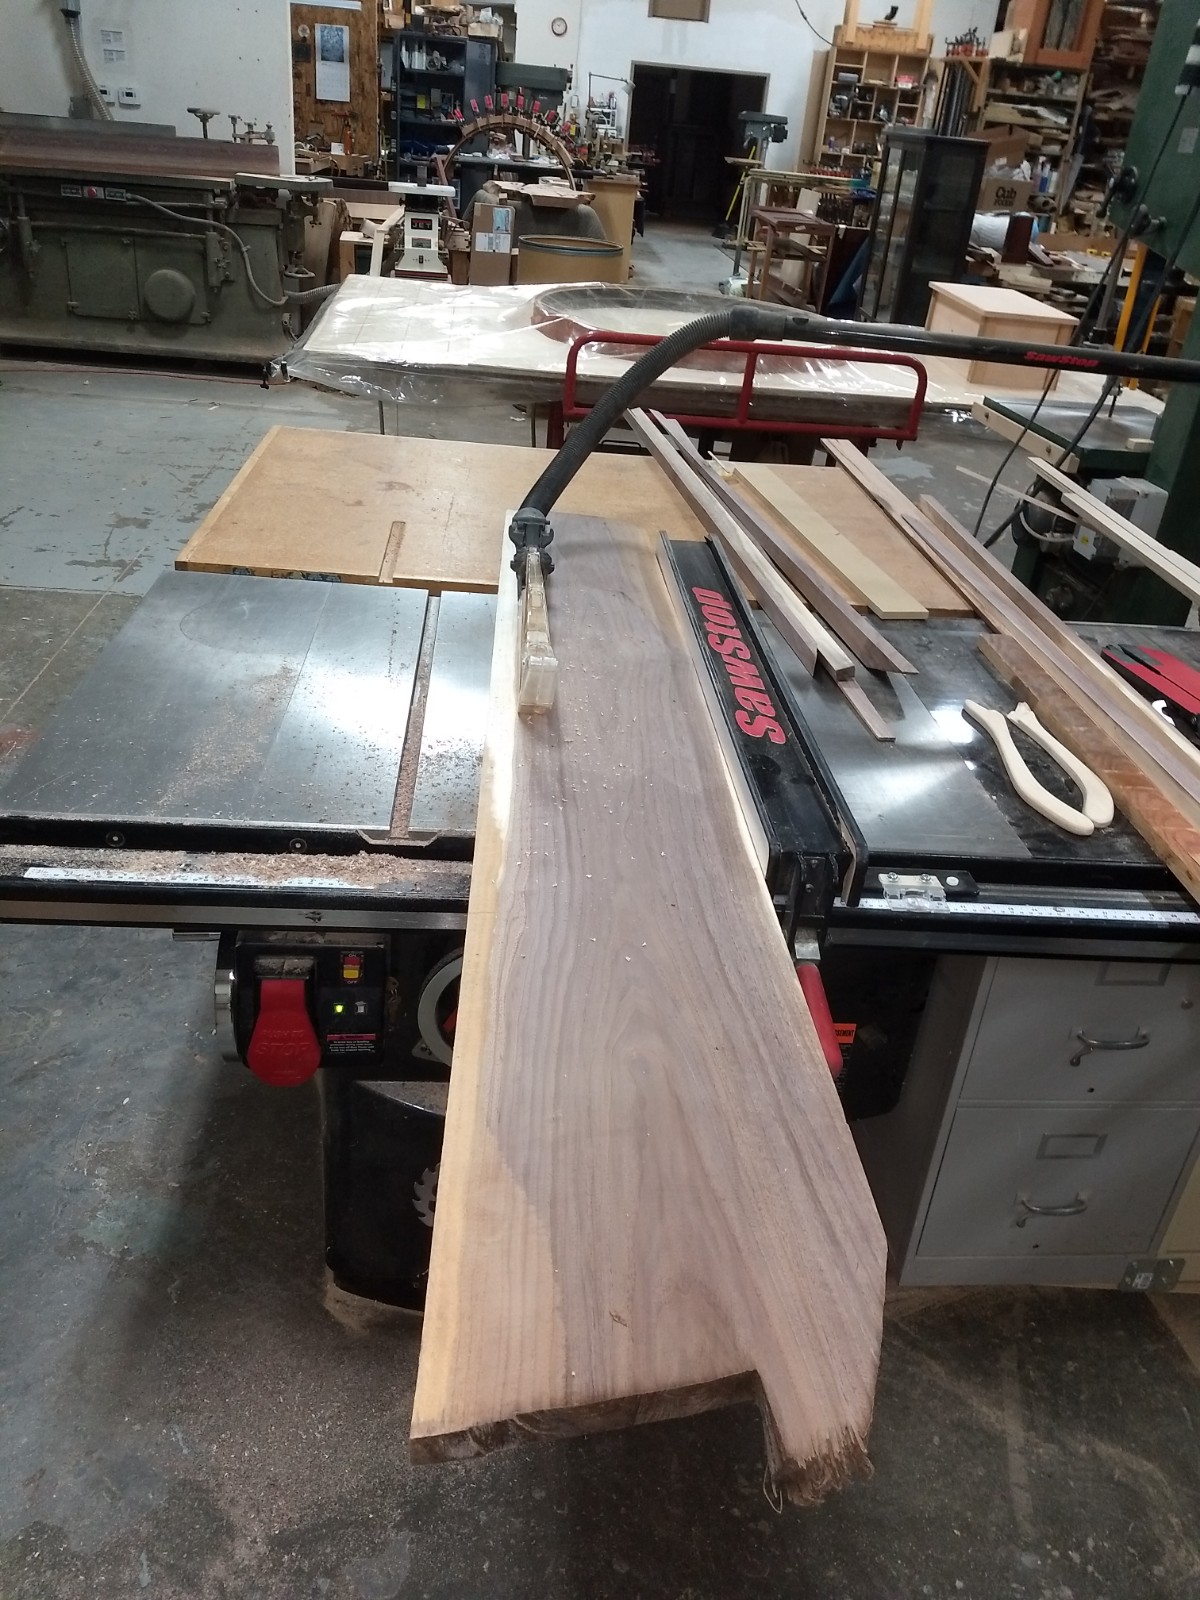
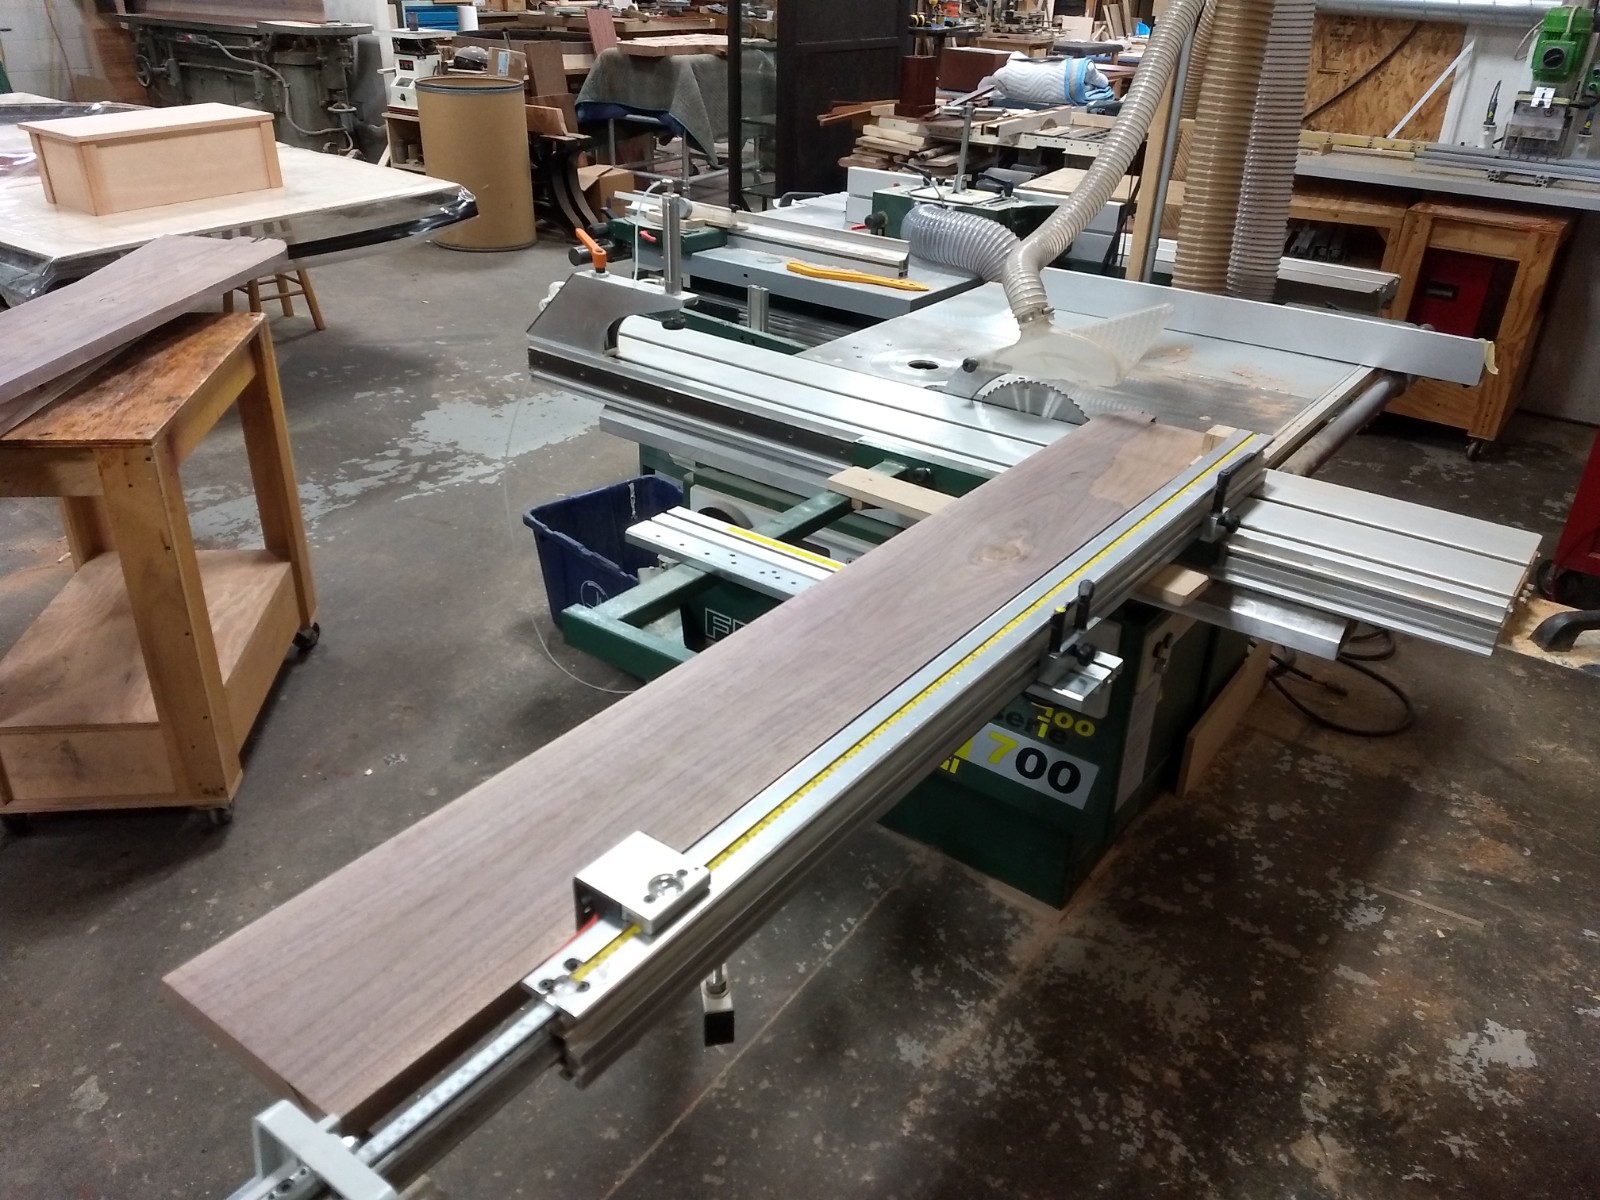
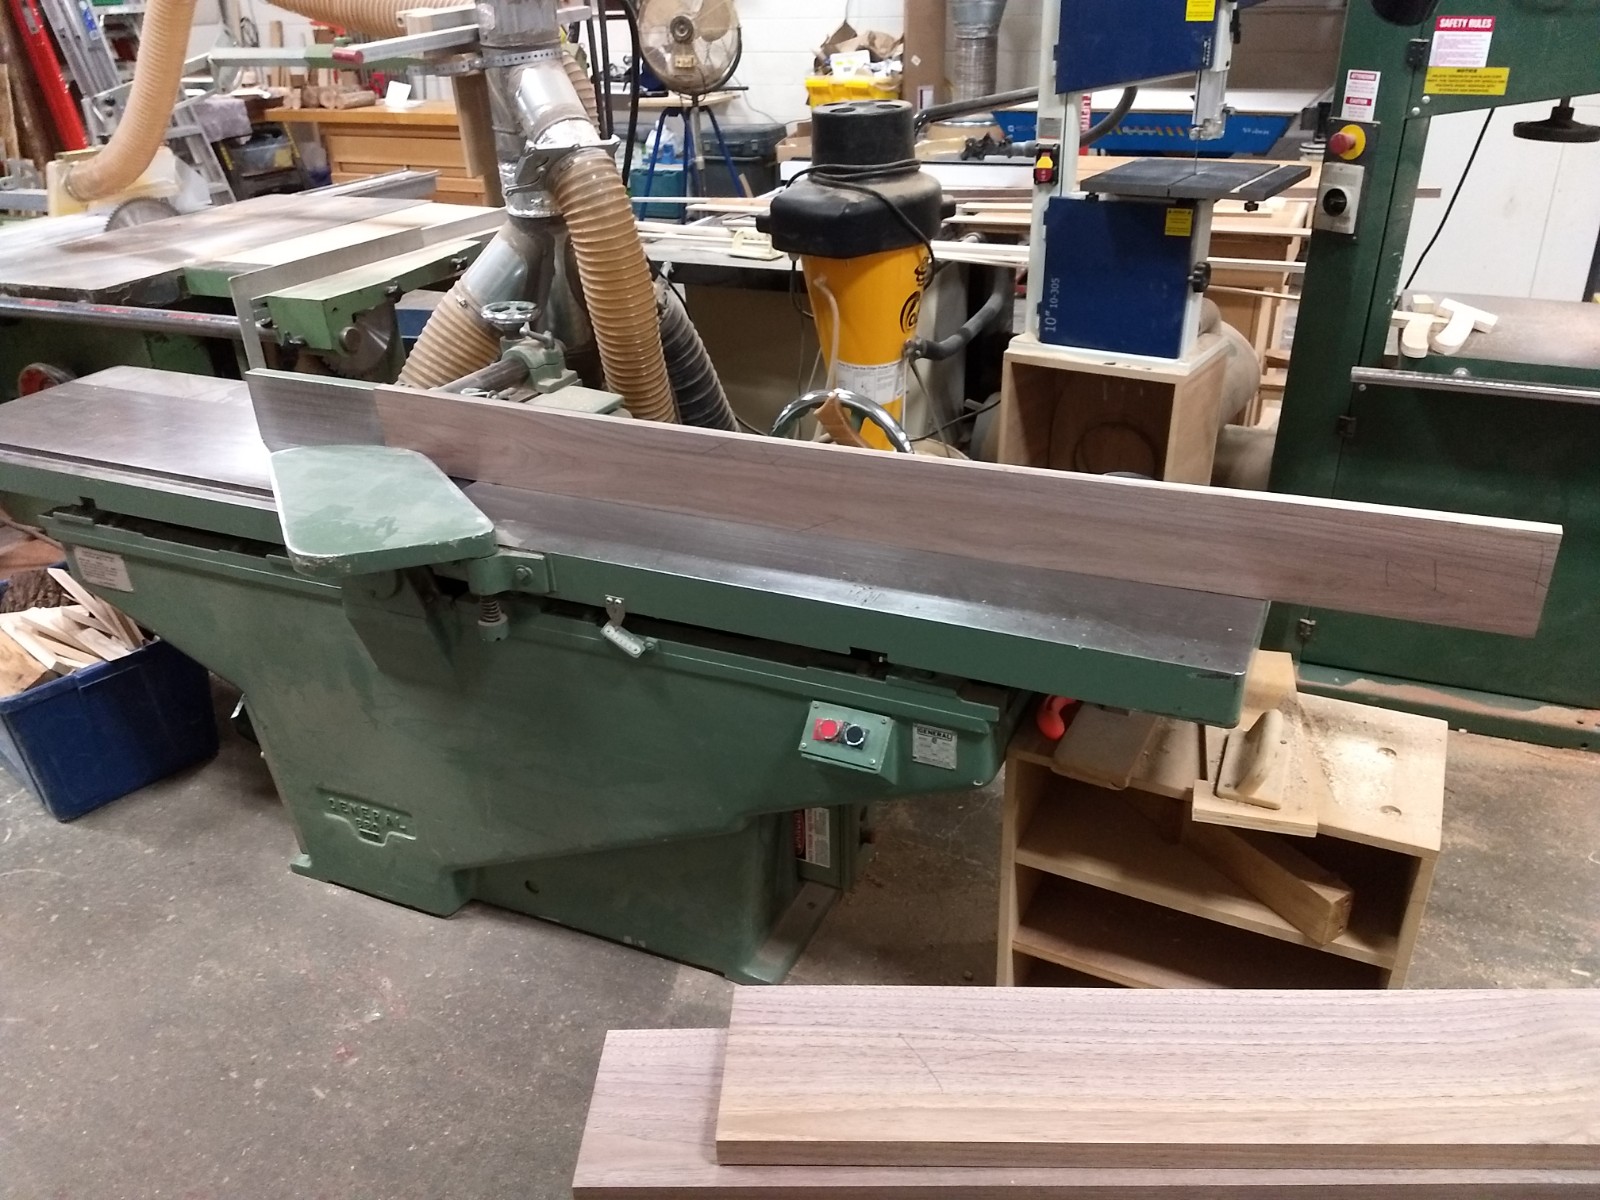
The first step is to select the boards for the top. The boards are flattened on one face using the jointer. The other face is flattened, and the thickness of the boards are made consistent using the planer. One edge of the board is cut straight using the sliding table saw. The board is pneumatically clamped to the sliding table, and as the table slides past the blade a perfect straight cut results. The boards are then cut to width on the table saw, and cut to length on the sliding table saw. The last step is to joint the edges of the boards to ensure the boards perfectly mate when they’re glued together.
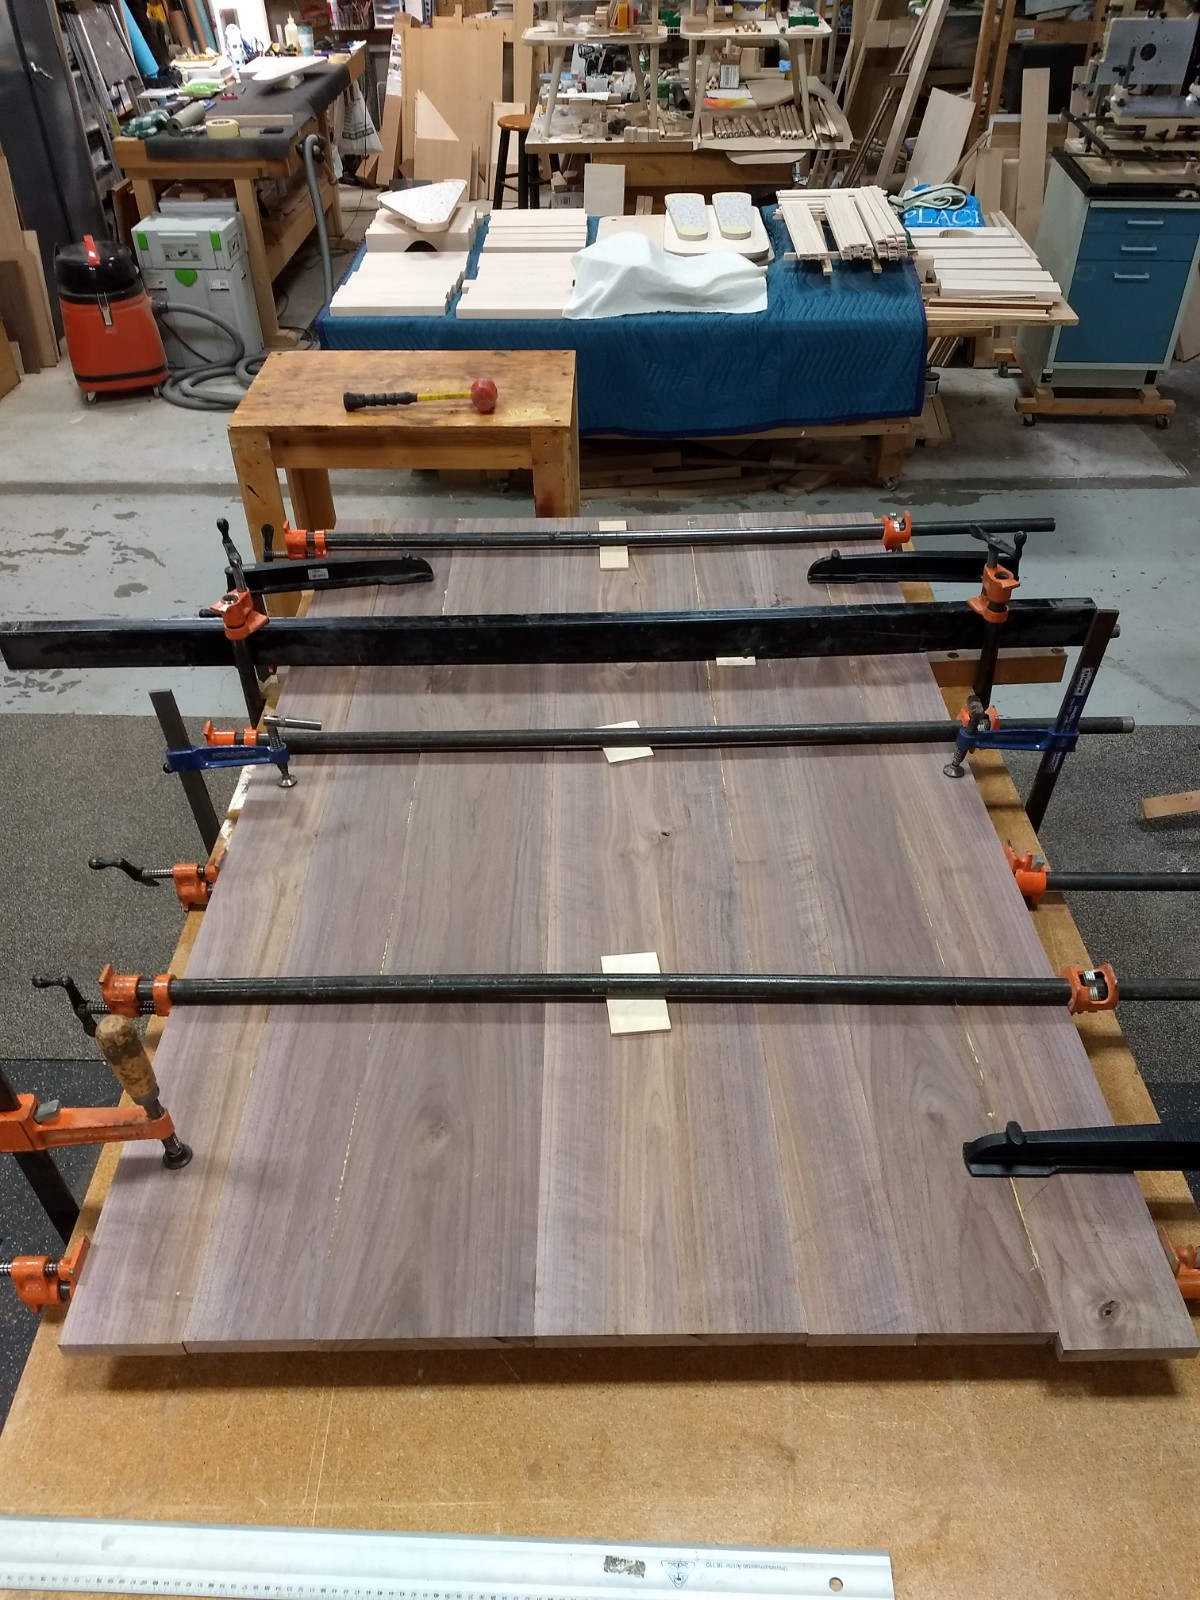
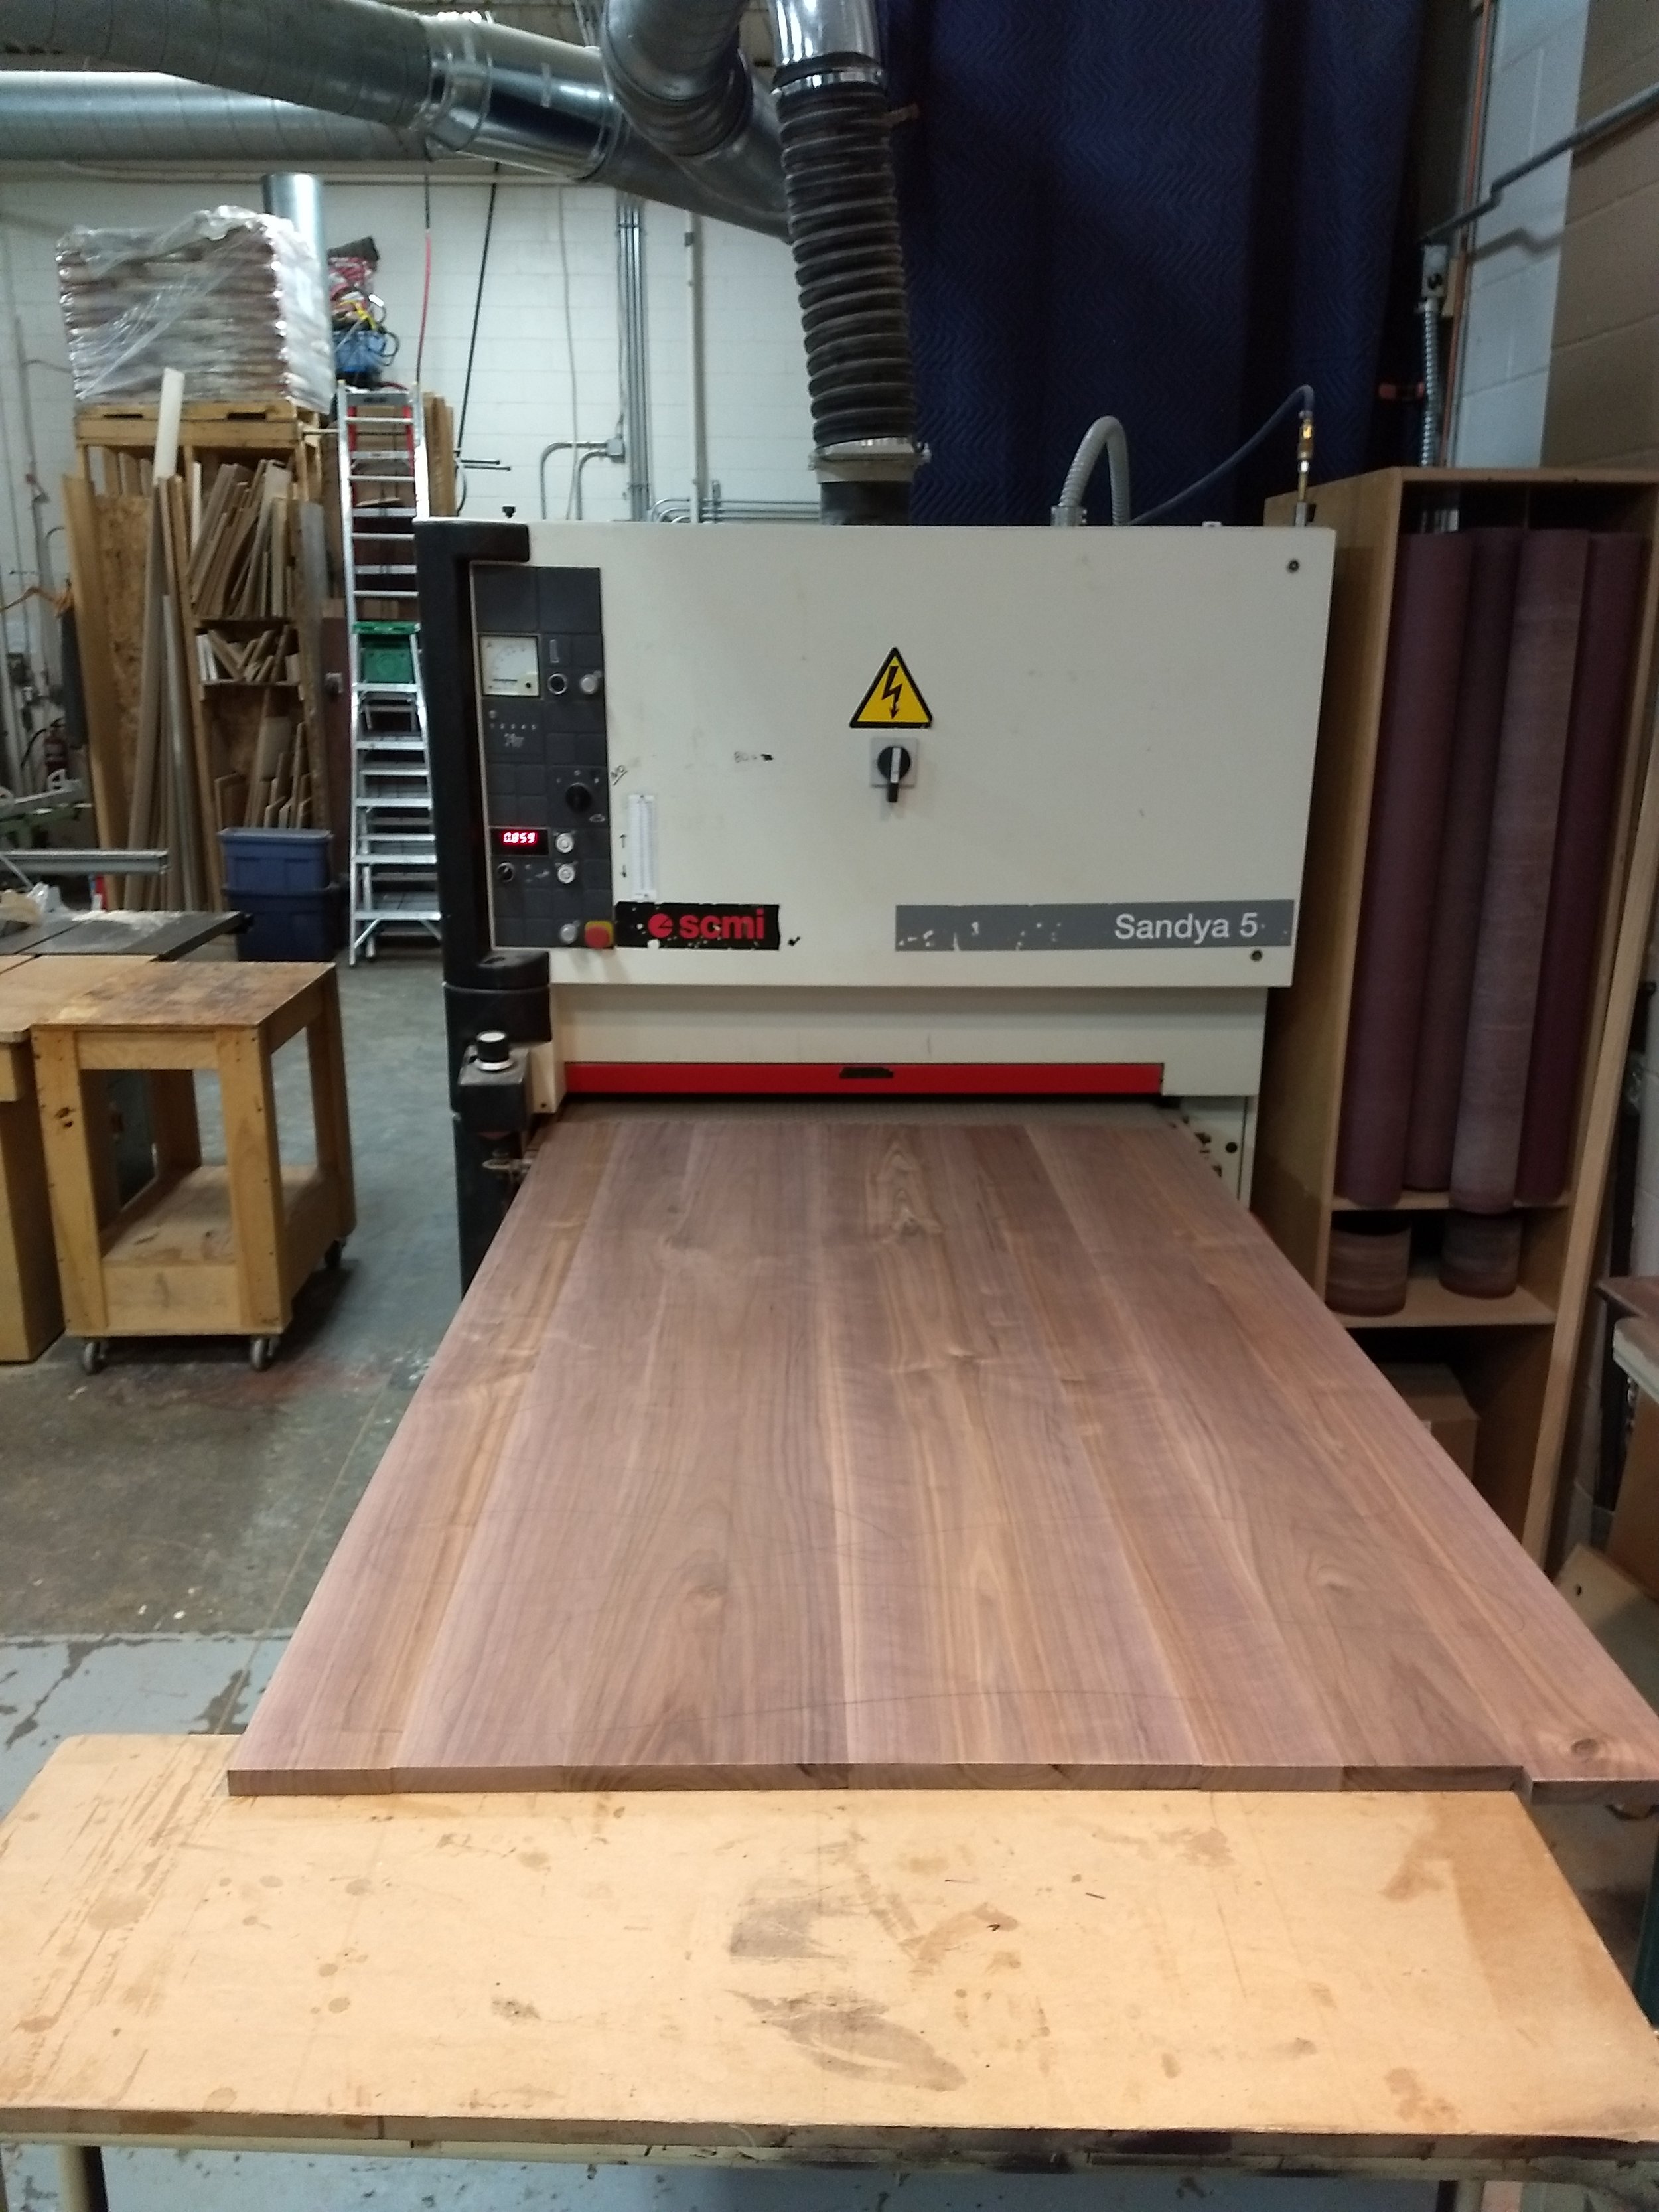
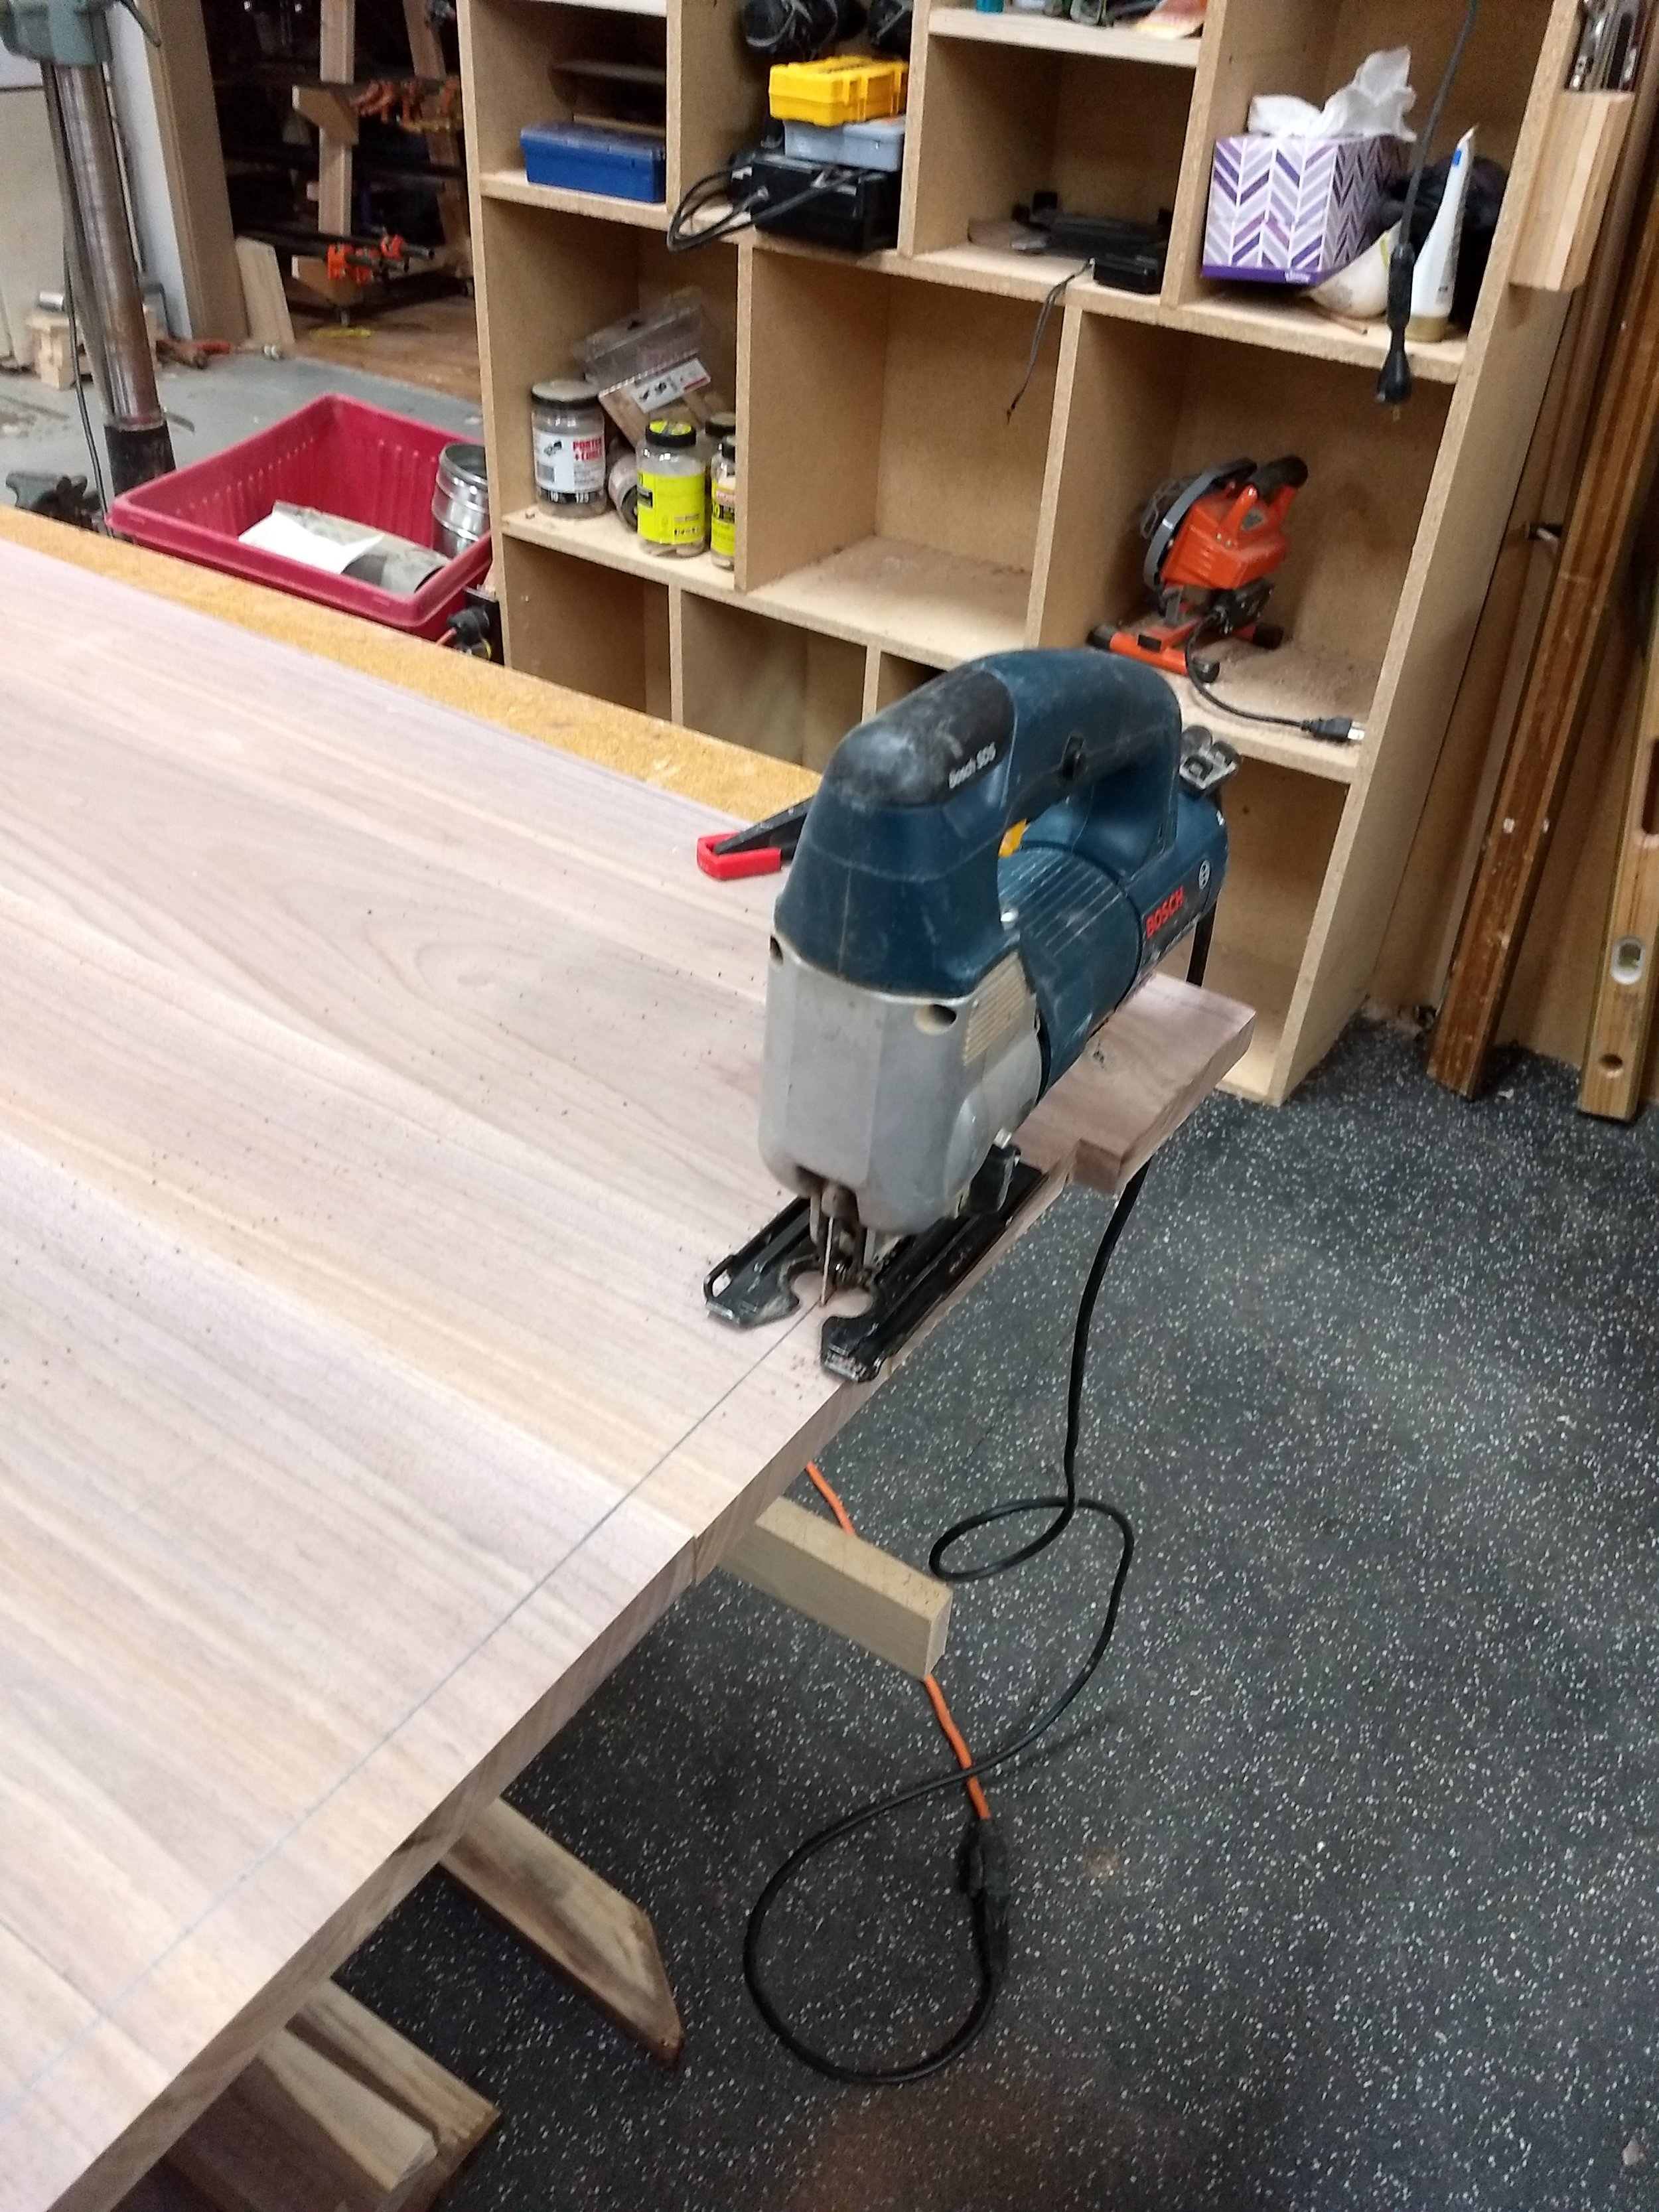
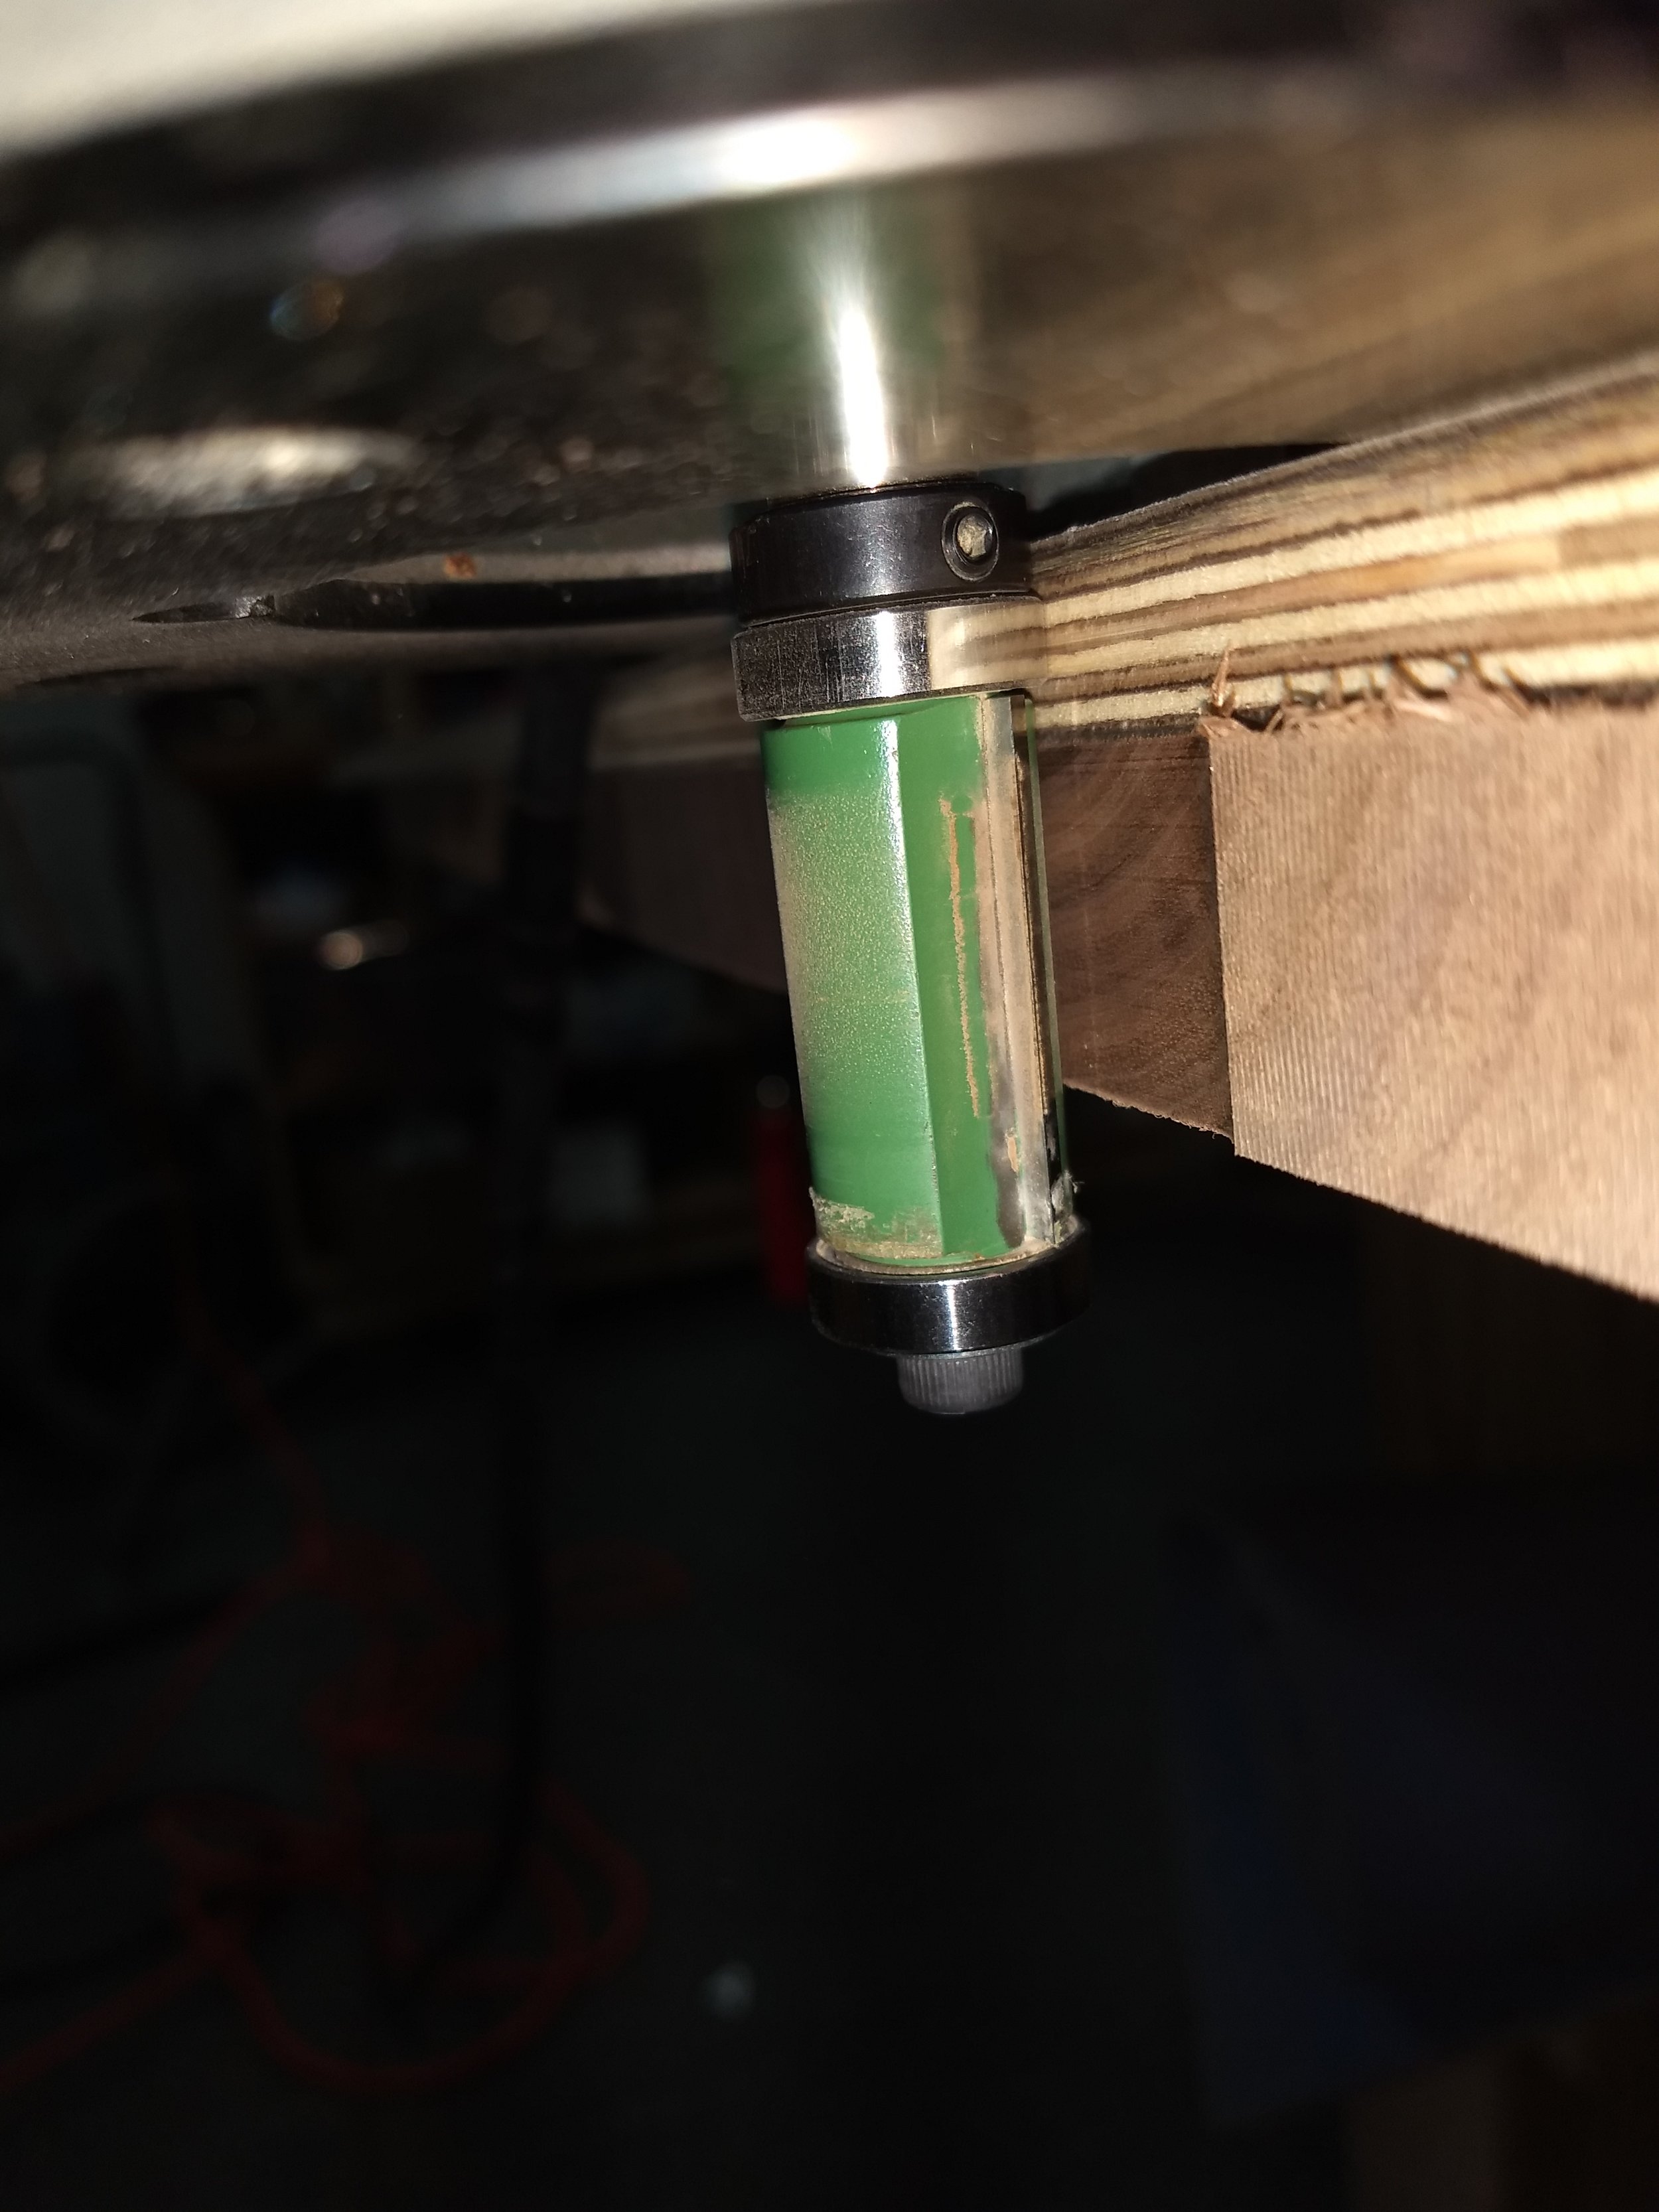
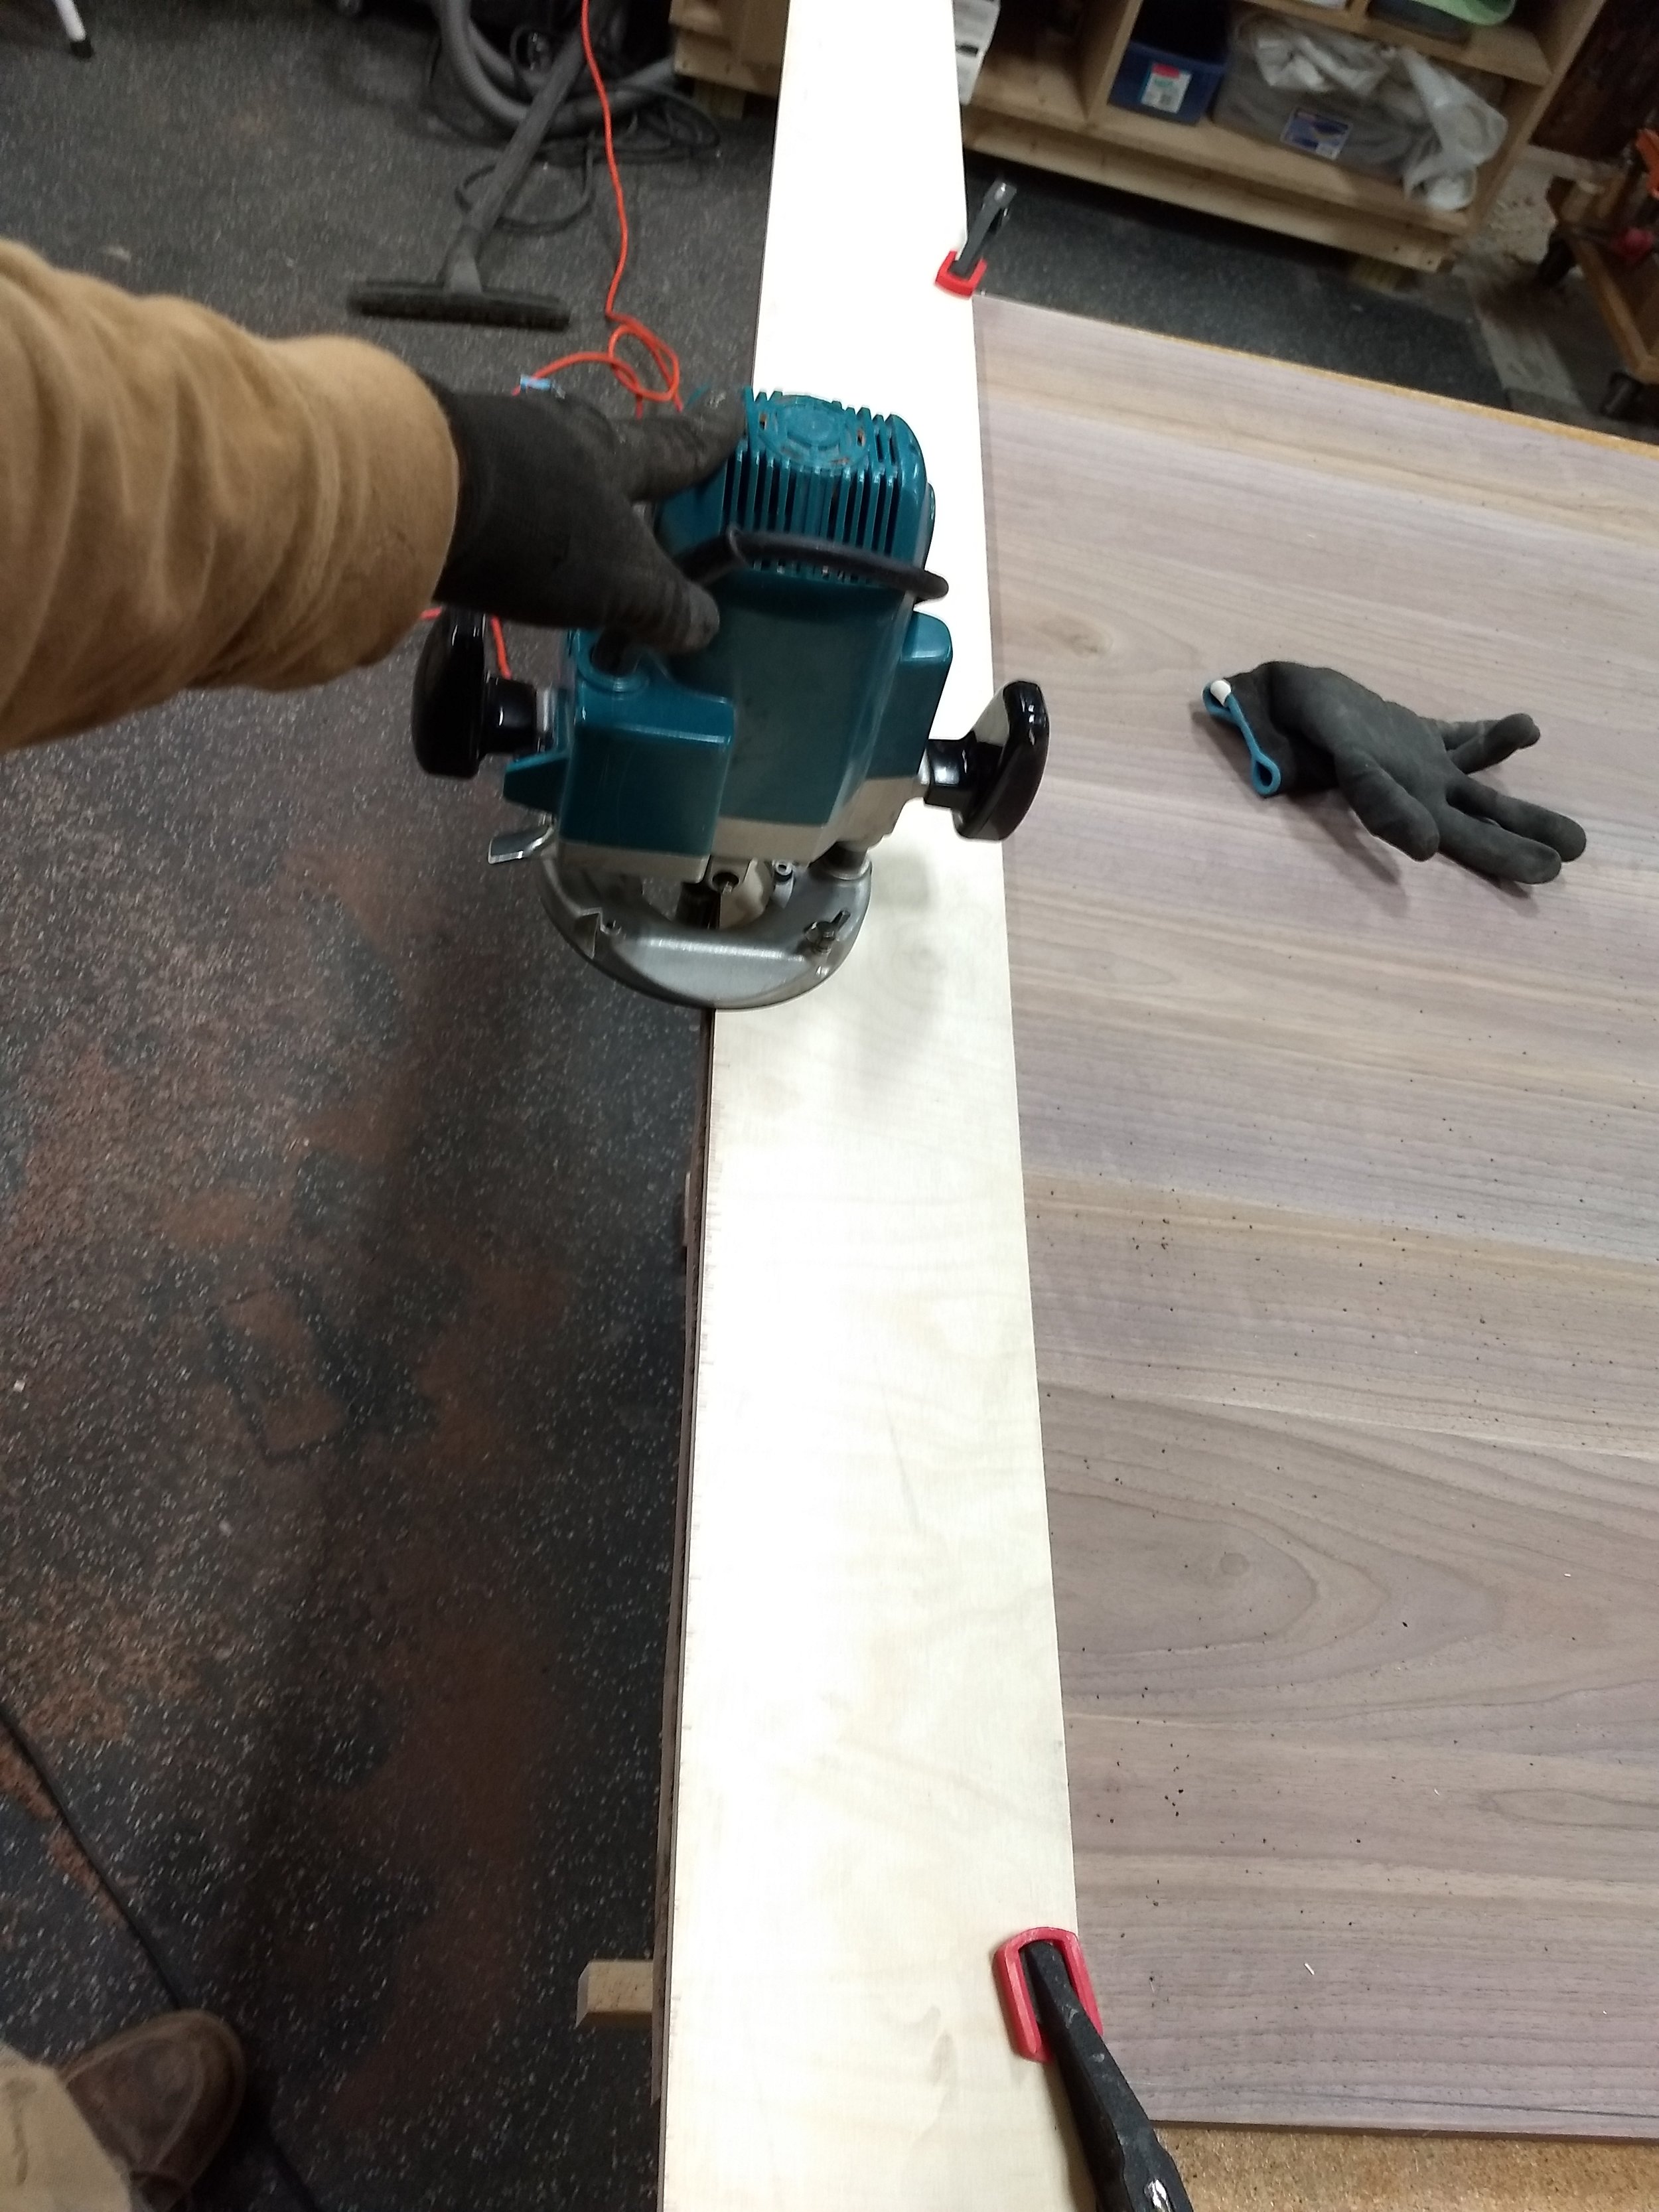
After the glue dries the top is flattened and made smooth in the wide belt sander. The edges of the table have a gentle radius. This is first rough cut with a scroll saw. A router with a flush trim router bit is used with a template to trim the radiuses to their final dimensions. The bit has a ball bearing that is flush with the cutter blades. The bearing is pushed along a template, which results in a duplicated cut on the table top.